Imagine being able to connect to the internet without the need for a router in Windows 10. It may sound impossible, but it’s actually quite feasible. In this article, I will guide you through the steps on how to connect to the internet without a router in Windows 10. By following these simple instructions, you will be able to stay connected and surf the web on your Windows 10 device, even without a traditional router. So, let’s get started on this exciting journey of internet connectivity without boundaries.

Connect to the Internet using Ethernet
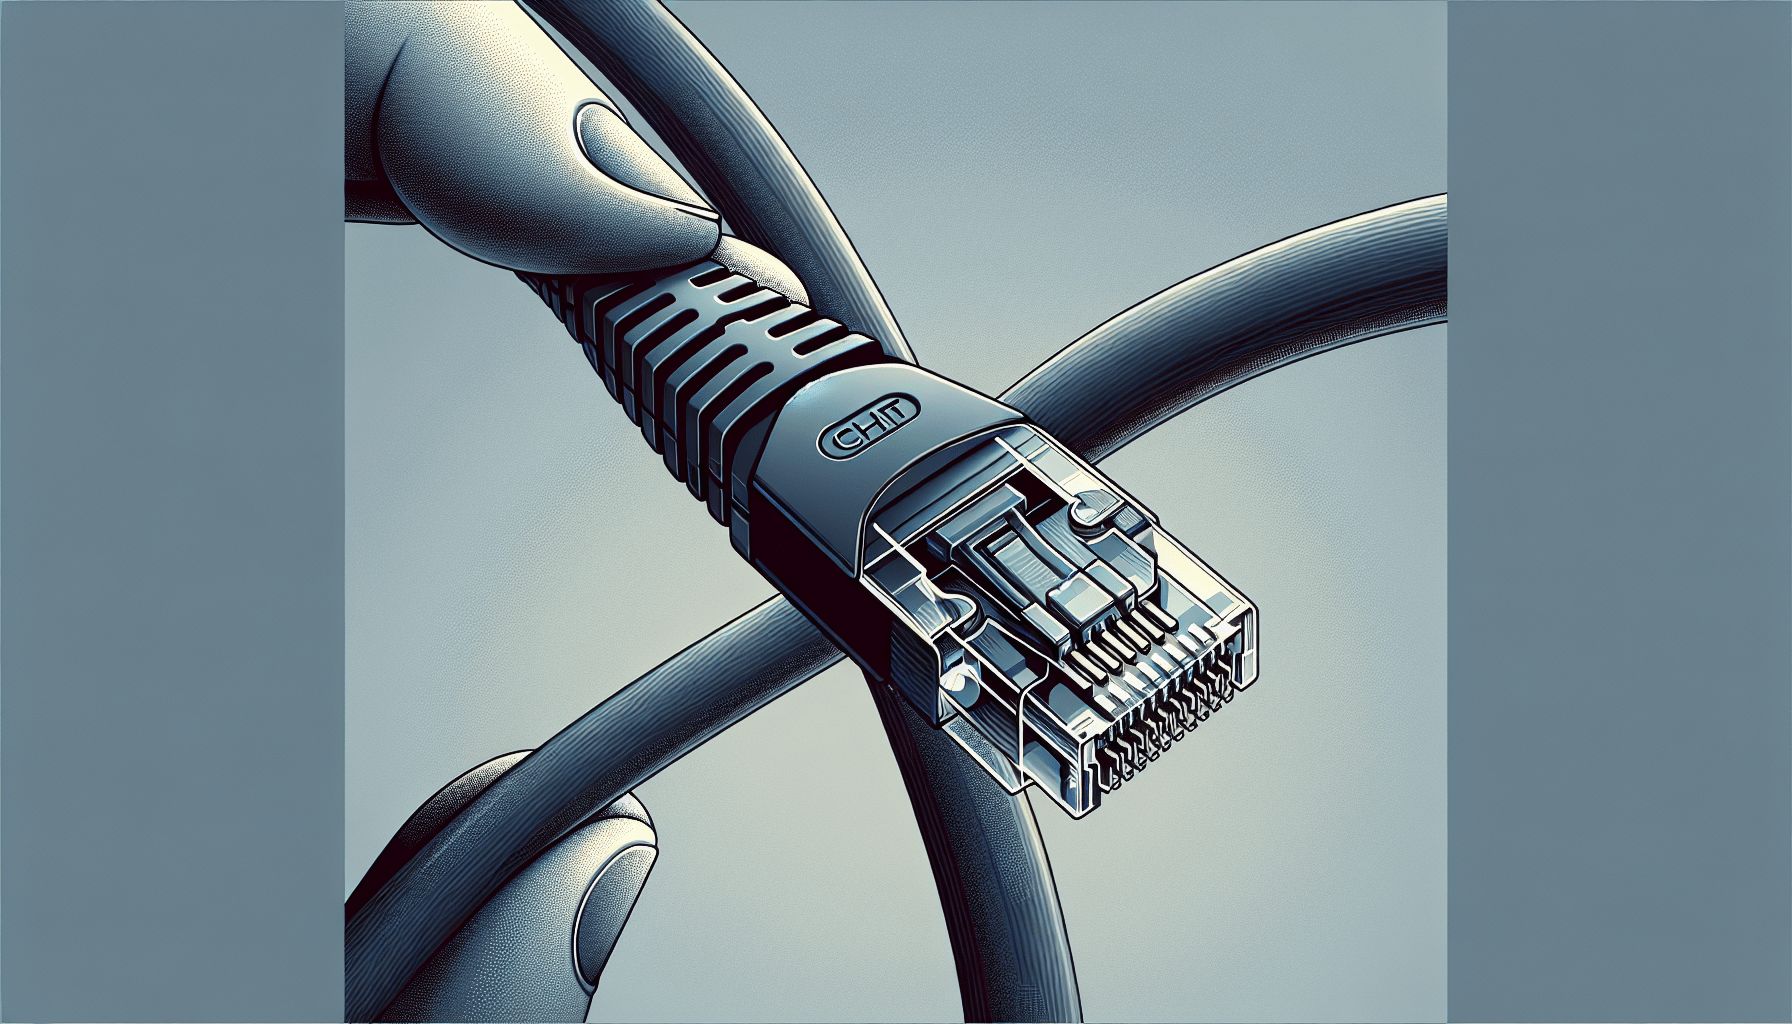
Check for an Ethernet port
To connect to the internet using Ethernet, you first need to check if your device has an Ethernet port. An Ethernet port is a small, rectangular opening usually found on the back or side of your computer or laptop. It looks like a slightly larger version of a phone jack and is used to connect your device directly to a modem or network port.
Connect your device to the Ethernet port
Once you have located the Ethernet port on your device, you can connect it to the internet by plugging one end of an Ethernet cable into the port and the other end into a modem or network port. The Ethernet cable will transmit data between your device and the modem, allowing you to access the internet directly without the need for a router.
Configure network settings
After connecting your device to the Ethernet port, you may need to configure the network settings to ensure a stable internet connection. To do this, open your device’s network settings and select the Ethernet connection. From there, you can set the connection type to automatic or manually enter the IP address, subnet mask, gateway, and DNS server information provided by your internet service provider (ISP). Once the network settings are configured, you should be able to access the internet through the Ethernet connection.
Use Mobile Hotspot feature
Check if your device supports Mobile Hotspot
If you don’t have access to a router or Ethernet connection, you can use the Mobile Hotspot feature on your smartphone to connect your computer or laptop to the internet. Before proceeding, ensure that your device supports this feature. Most modern smartphones running on iOS or Android operating systems have built-in Mobile Hotspot functionality.
Enable Mobile Hotspot on your device
To use the Mobile Hotspot feature, go to your device’s settings and look for the option labeled “Mobile Hotspot” or “Personal Hotspot.” Enable the feature, and you should be able to see the name (SSID) and password for your hotspot. It’s essential to secure your hotspot by setting a strong password to prevent unauthorized access.
Connect your computer to the Mobile Hotspot
Once you have enabled the Mobile Hotspot on your smartphone, it will start broadcasting a Wi-Fi network. On your computer, navigate to the list of available Wi-Fi networks and select the network with the same name as your Mobile Hotspot. Enter the password when prompted, and your computer should successfully connect to the internet using your smartphone’s mobile data connection.
Connect to a nearby Wi-Fi network
Check for available Wi-Fi networks
If you are in a location where Wi-Fi networks are available, you can connect your device to one of these networks to access the internet without a router. Check your device’s network settings or Wi-Fi options to see a list of available networks.
Connect to the desired Wi-Fi network
From the list of available networks, select the Wi-Fi network that you wish to connect to. Make sure to choose a network that you have permission to access. If the network is password protected, you will be prompted to enter the network password.
Enter the network password if prompted
Once you have selected the desired Wi-Fi network, you may be prompted to enter a password. If you know the password, enter it correctly. If you don’t have the password but have permission to access the network, you may inquire with the network owner or administrator to obtain it. Once you have entered the correct password, your device will connect to the Wi-Fi network, allowing you to connect to the internet.
Use a USB Tethering connection
Connect your smartphone to your computer via USB
USB Tethering allows you to share your smartphone’s mobile data connection with your computer. To use this method, connect your smartphone to your computer using a USB cable. Make sure the cable is securely connected to both devices.
Enable USB Tethering on your smartphone
After connecting your smartphone to your computer via USB, you will need to enable USB Tethering on your smartphone. This option can usually be found in the settings or network settings of your smartphone. Activate USB Tethering, and your smartphone will start sharing its mobile data connection with your computer.
Configure network settings on your computer
Once USB Tethering is enabled on your smartphone, your computer should recognize the connection. Check your computer’s network settings to ensure it has successfully detected the tethered connection. If necessary, configure the network settings on your computer to establish a stable connection. Once configured, you should be able to access the internet through the USB Tethering connection.

Connect using a LAN Cable
Check if your computer has a LAN port
Connecting to the internet using a LAN Cable requires your computer to have a LAN port. A LAN port is a small, rectangular opening on the back of your computer or laptop which is used to connect to a modem or router via an Ethernet cable. Ensure that your computer has a LAN port before proceeding.
Connect one end of the LAN cable to your computer and the other end to a modem or network port
Once you have verified that your computer has a LAN port, connect one end of the LAN cable to the LAN port of your computer or laptop. Then, connect the other end of the LAN cable to a modem or network port. The modem or network port is typically located near the router or in a centralized network area.
Configure network settings on your computer
After connecting your computer to the modem or network port using a LAN cable, configure the network settings on your computer. Open your device’s network settings and select the LAN connection. Depending on your network configuration, you may need to set the connection type to automatic or manually input the IP address, subnet mask, gateway, and DNS server information provided by your ISP. Once the network settings are configured, you should be able to access the internet through the LAN cable connection.
Use a Powerline Adapter
Purchase a Powerline Adapter kit
A Powerline Adapter allows you to establish a wired internet connection using your home’s electrical wiring. To use this method, you will need to purchase a Powerline Adapter kit. These kits typically come with two adapters and an Ethernet cable.
Connect one end of the adapter to your router and the other end to a power outlet
Start by connecting one Powerline Adapter to your router or modem using an Ethernet cable. Plug the other end of the adapter into a nearby power outlet. The Powerline Adapter uses your home’s electrical wiring to transmit the internet signal to another location.
Connect another adapter to your computer using an Ethernet cable
Take the second Powerline Adapter from the kit and connect one end to your computer or laptop using another Ethernet cable. Plug the other end of the adapter into a power outlet near your computer.
Configure network settings on your computer
After connecting both Powerline Adapters, they will establish a connection through your home’s electrical wiring. Your computer should detect the wired connection automatically. If required, configure the network settings on your computer to ensure a stable connection. Once configured, you should be able to access the internet through the Powerline Adapter connection.

Connect via a Public Wi-Fi Network
Find a public Wi-Fi hotspot
When a router or personal internet connection is not available, you can connect to a public Wi-Fi network. Look for places such as coffee shops, libraries, airports, or restaurants that offer free Wi-Fi hotspots.
Connect to the Wi-Fi network
Once you have identified a public Wi-Fi hotspot, open your device’s network settings or Wi-Fi options, and select the Wi-Fi network provided by the establishment. Public Wi-Fi networks are typically listed as “guest” or by the establishment’s name.
Accept terms and conditions if necessary
Some public Wi-Fi networks may require you to accept terms and conditions or agree to their usage policies before allowing access to the internet. If prompted, read through the terms and conditions, then accept them to establish a connection.
Use a Wi-Fi USB adapter
Purchase a Wi-Fi USB adapter compatible with Windows 10
If your computer does not have built-in Wi-Fi capabilities or you need to enhance your wireless connectivity, you can purchase a Wi-Fi USB adapter. Ensure that the adapter you buy is compatible with your operating system, such as Windows 10.
Connect the adapter to your computer’s USB port
Plug the Wi-Fi USB adapter into an available USB port on your computer. Depending on the adapter, you may need to install any necessary drivers or software provided with the adapter. Follow the manufacturer’s instructions to complete the installation process.
Configure network settings on your computer
Once the Wi-Fi USB adapter is connected to your computer and any required drivers or software are installed, access your device’s network settings. From there, select the newly detected Wi-Fi dongle, and configure the network settings as needed. Enter the network password if prompted. Once the network settings are configured, you should be able to connect to the internet through the Wi-Fi USB adapter.
Connect using a LAN over USB
Connect your smartphone to your computer via USB
To connect to the internet using a LAN over USB, first, connect your smartphone to your computer using a USB cable. Ensure that the cable is securely connected to both devices.
Enable USB tethering on your smartphone
After connecting your smartphone to your computer via USB, access the settings or network settings on your smartphone. Look for the USB Tethering option and enable it. By doing so, your smartphone will share its mobile data connection with your computer through the USB connection.
Configure network settings on your computer
Once USB tethering is enabled on your smartphone, your computer should recognize the connection. Check your computer’s network settings to ensure it has successfully detected the tethered connection. Configure the network settings on your computer if necessary, and once configured, you should be able to access the internet over the LAN connection established through USB tethering.
Use a Mi-Fi device
Purchase a Mi-Fi device
A Mi-Fi device, also known as a mobile hotspot device, allows you to create your own Wi-Fi network using a cellular data connection. To use a Mi-Fi device, you will need to purchase one. Mi-Fi devices are typically small, portable devices that require a data plan from a cellular service provider.
Power on the Mi-Fi device and connect your computer to its Wi-Fi network
After purchasing a Mi-Fi device, power it on by following the manufacturer’s instructions. Once the device is powered on, it will broadcast its own Wi-Fi network. On your computer, navigate to the list of available Wi-Fi networks and select the network name (SSID) of the Mi-Fi device.
Enter the device password if prompted
When connecting to the Mi-Fi device’s Wi-Fi network, you may be prompted to enter a password. The password is usually provided by the manufacturer and can be found on the device itself or in the accompanying documentation. Enter the password correctly, and you should successfully connect your computer to the Mi-Fi device’s Wi-Fi network, allowing access to the internet.
Configure network settings on your computer
Once connected to the Mi-Fi device’s Wi-Fi network, you may need to configure the network settings on your computer to establish a stable internet connection. Access your computer’s network settings and select the Wi-Fi connection associated with the Mi-Fi device. If necessary, set the connection type to automatic or manually input any required network information. Once the network settings are configured, you should now have access to the internet through the Mi-Fi device.